Now that you have received your TourBuilder Kit let’s walk through what’s inside.
If you need help assembling your TourBuilder kit, see How to Set Up Your TourBuilder Kit.
.jpg?width=530&height=354&name=TourBuilderPro-UserShoot-01%20(1).jpg)
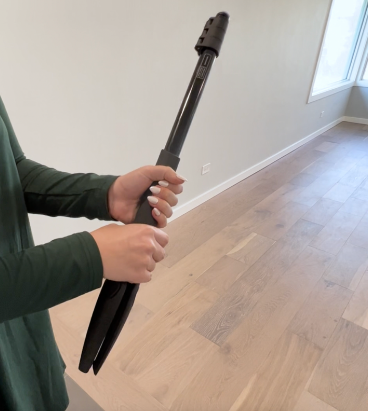
Tripod
Your tripod will come in two separate pieces: the base and the stem.
If you need directions on how to put together your tripod, watch the tutorial video “How to Shoot Your Virtual Tour” or visit How do I assemble the tripod? in the FAQ section.
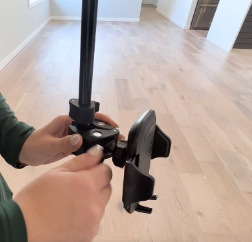
Phone Mount
There are 2 pieces to the phone mount. The phone mount must be attached right below the top clasp of the tripod. Once it’s attached, you can place your smartphone in the mount. To widen the phone mount, press the button on the bottom, then after placing your phone, tighten it so that your phone stays in place. If you have a deep phone case, you might need to remove it before placing it into the mount.
Remember, keeping your smartphone mounted while you capture your 360 tours is very important. Only take your smartphone off when you capture 360 scenes to add additional photos or video to the tour.
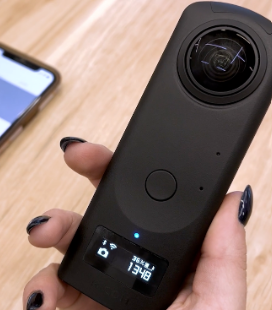
The Ricoh Theta Z1 360 Camera
The 360-degree Ricoh Theta Z1 Camera is what you will use to take the 360 photos. This will be attached to the top of the tripod during your shoot.
The Battery Power Bank
The power bank ensures your Ricoh Theta Z1 Camera keeps its charge so you can capture as many units as possible without interruption.
Accessories
The kit comes with accessories such as:
- 2 Charging cords to charge the Ricoh Theta Z1 Camera and the power bank
- Charging cube
- Camera soft case
- Camera hard cap
- Microfiber lens cleaning cloth
- Power bank metal screw to extend the tripod to the appropriate length