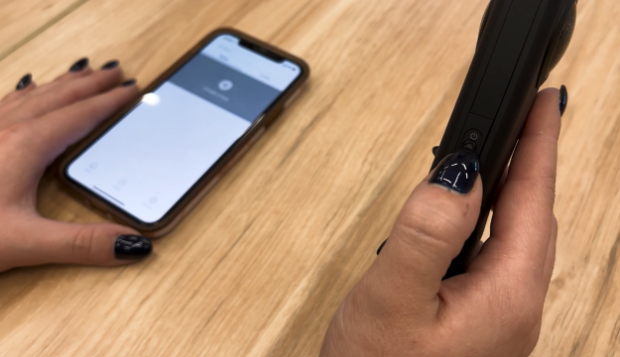
Step 1: Power on the 360-Degree Ricoh Camera
First, turn on the Ricoh Theta camera by holding down the power button on the side. A blue light will appear on the front once the camera is on.
Step 2: Connect to Wi-Fi
Next, make sure your smartphone's Wi-Fi is turned on, then look at the small screen on the front of the Ricoh Theta camera. A Wi-Fi signal should appear on the screen. A flashing Wi-Fi signal indicates that the Wi-Fi is turned on and you are ready to connect the camera to the app. The phone and camera are connecting to each other through their wifi signals. If you don't see the Wi-Fi signal, press the Wi-Fi/Bluetooth button just below the power button.
Step 3: Locate the QR Code to Connect
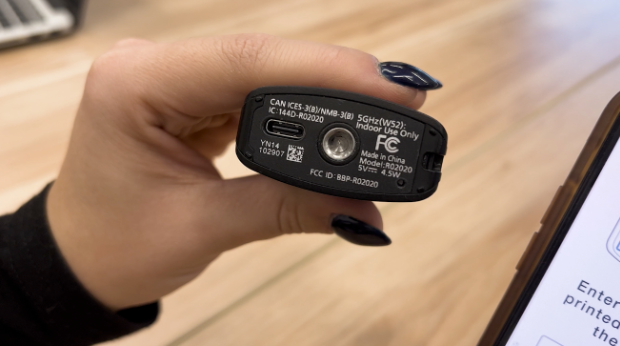
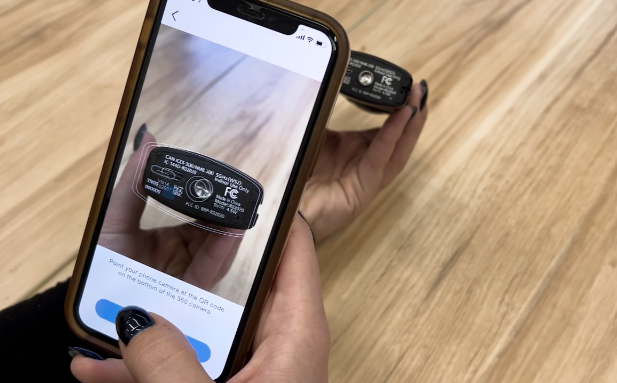
Connect the camera to the TourBuilder Go App by using the QR code on the bottom of the Ricoh Theta camera. Line up the QR code with the QR scanner on the app.
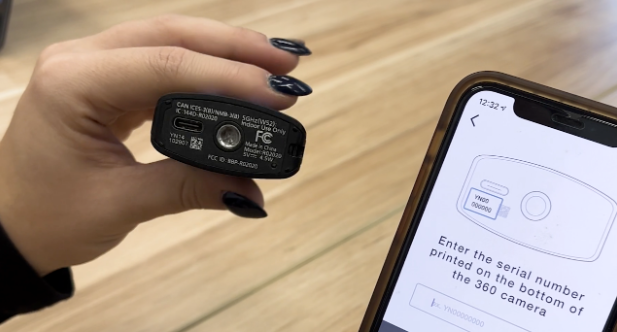
You can also enter the code manually. A 10-digit serial number can be found next to the QR code underneath the camera. Enter the serial number into the field below the QR scanner.
Once you connect the QR code, TourBuilder Go will ask to join the Theta Wi-Fi. Click join to finish the connection.
And just like that, you're ready to use TourBuilder Go!
Watch the How-To Video: